
Grow Tent Setup
When you see rooms full of healthy cannabis plants that are loaded with abundant flowers, it’s easy to forget the labor involved behind the scenes.
One of the first aspects of having a successful grow is having an optimal grow space. Although many commercial areas convert entire rooms into a growing environment, it’s far more comfortable and less labor intensive to use a grow tent setup.
Your grow tent setup needs to include all the necessary pieces that will facilitate an ideal environment for your cannabis crop.

- Independently Reviewed
- Fact Checked
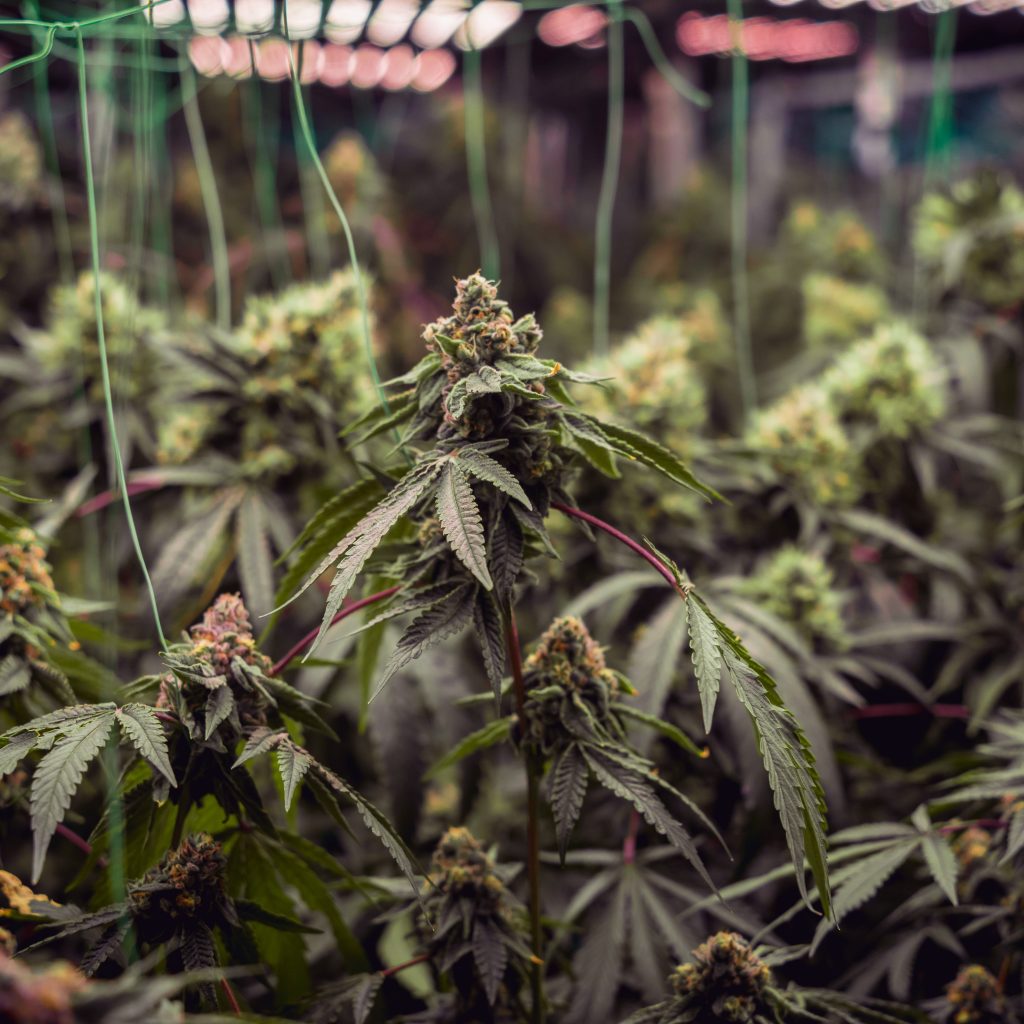
Table of Contents
How to Set Up a Grow Tent?
Setting up a grow tent is easy if you follow the directions. There isn’t a grow tent manufacturer that doesn’t offer a comprehensive guide on how to set up their product.
This can become complicated if you buy a grow tent second-hand, and although we’re fans of recycling, we can’t recommend this method because you may inherit another growers’ problems (pests, mold, or fungi).
The vast majority of grow tents are pole-based, meaning they’re put together through the use of connecting heavy-duty aluminum poles.
These poles are generally coded with matching numbers or letters which makes construction a breeze. This process is even more straightforward when the manufacturer provides you with a grow tent setup diagram.
Potentially the most challenging aspect of grow tent construction is placing the actual tent over the aluminum skeleton. This is common with large sizes, such as 4’x8’ and above, but patience will become your ally in this process.
Depending on the grow tent of your choice, there will be additional accessories that you may choose to use or not.
Many come with a removable floor, which is beneficial if you find yourself splashing water constantly within the tent. This removable floor can easily be detached and cleaned in the event of major spillage.
Once you’ve carefully followed all the necessary directions and double-checked your work, you can now test the room for what’s known as “light-proofness”
The last thing you want to find in your grow tent is a large hole that allows light into the tent during the 12-hours of darkness.
This unfortunate mistake in the manufacturer’s end can cost you a large amount of time and money if your cannabis plants begin to turn hermaphrodite due to a small defect in the tent material.
You’ve seen the High Times magazine pictures: a grow tent filled to the brim with beautiful buds in an even canopy. Do you ever notice the material that’s found just underneath the sea of green?
Netting is commonly used that’s constructed into a grid format, which each stem grows through.
Although cannabis plants are naturally adapted to hold the weight of the flower that it produces; modern growing pushing the cannabis plant to the limit in terms of bud production.
This added weight increases the chances of a snapped branch, so cultivators came up with lining the interior of their grow tents with netting to allow for denser buds.
All that you need to do to amplify the production from your cannabis crop is to buy the appropriate netting size and attach it to the 4 corners of the tent. Before your plants grow into the netting, you’ll want to begin the flowering phase.
The reason behind this is to allow your cannabis plants to grow into the netting during their 12/12 stretch. Cannabis plants usually “stretch” once they begin their flowering phase, and they can grow up to 3 times their size depending on their strain.
By doing this simple technique in your grow tent, you can increase your yield significantly.
Grow Tent Equipment
- Inline Fan
- High-pressure sodium bulbs
- Metal halide bulbs
- LEDs
- CFLs
- T5s
- Carbon Filter
- Oscillating Fans
How to Set up Grow Tent Ventilation
This appears to be a common question amongst beginners and experts. There isn’t a single way to set up your grow tent ventilation since most grow spaces differ. General methods consist of the fan being secured by a bungee cord on the ceiling near a duct.
Usually, a carbon filter is connected directly to the inline fan. It may be necessary to buy a flange that will connect the two pieces if the inline fan or carbon filter is of a different size.
Ducting is also connected to the inline fan to direct air inside or to expel air outside. Depending on the situation, you may have two inline fans: one on the bottom bringing in fresh air and one on the ceiling collecting and expelling the hot air to another room or outside.
Last but not least, inline fans are connected to hoods by the use of ducting. A typical grow tent setup is as follows:
- Option 1: carbon filter → inline fan → ducting → hoods → exit. This scenario has everything attached to the ceiling, thus allowing the maximum amount of space for your plants.
- Option 2: carbon filter (on the ground in a corner) → ducting → hoods → ducting → inline fan → exit. This method reduces the available space slightly but decreases the stress on the supporting poles that hold your roof together.
Bungee cords are optimal to hang your inline fan and other necessities, such as carbon filters. Your lighting and hoods will need to be able to move up and down through the use of rope ratchets as your plants grow.
How to Setup Grow Tent Fans
Oscillating fans are a crucial component when setting up your grow tent. Fans have the unique ability to move air around the environment, which simultaneously reduces your chances for having problems with bud rot or powdery mildew.
Without an oscillating fan, your plants may be too close together, which can cause enhanced moisture. This increased moisture can lead to unabated growth of fungi and bacteria.
These are issues that you should try to avoid at all costs, especially when oscillating fans are priced relatively cheap.
The number of fans that you purchase depends on the size of your grow space. If you have a large 10’x10’ grow tent, then you’ll benefit from having 2-4 10” oscillating fans.
Each of these should be placed above the canopy, and their airflow shouldn’t be directly hitting the plants. Ideally, you want indirect airflow, which makes your garden sway as though there is a gentle breeze within the room.
At the same time, you don’t want too much airflow within the room because this can dry your plants out quickly. Most oscillating fans have a 180° radius as well as multiple speed settings, so it’s best to find the optimal speed to create an ideal environment.
Fans can be installed with ease through the use of bungee cords. There are many places that you can secure fans throughout the grow tent, with the corner poles usually being the perfect spot.


